


How to Build a Podcast Studio for Clear Audio

How Thick Should Acoustic Panels Be?
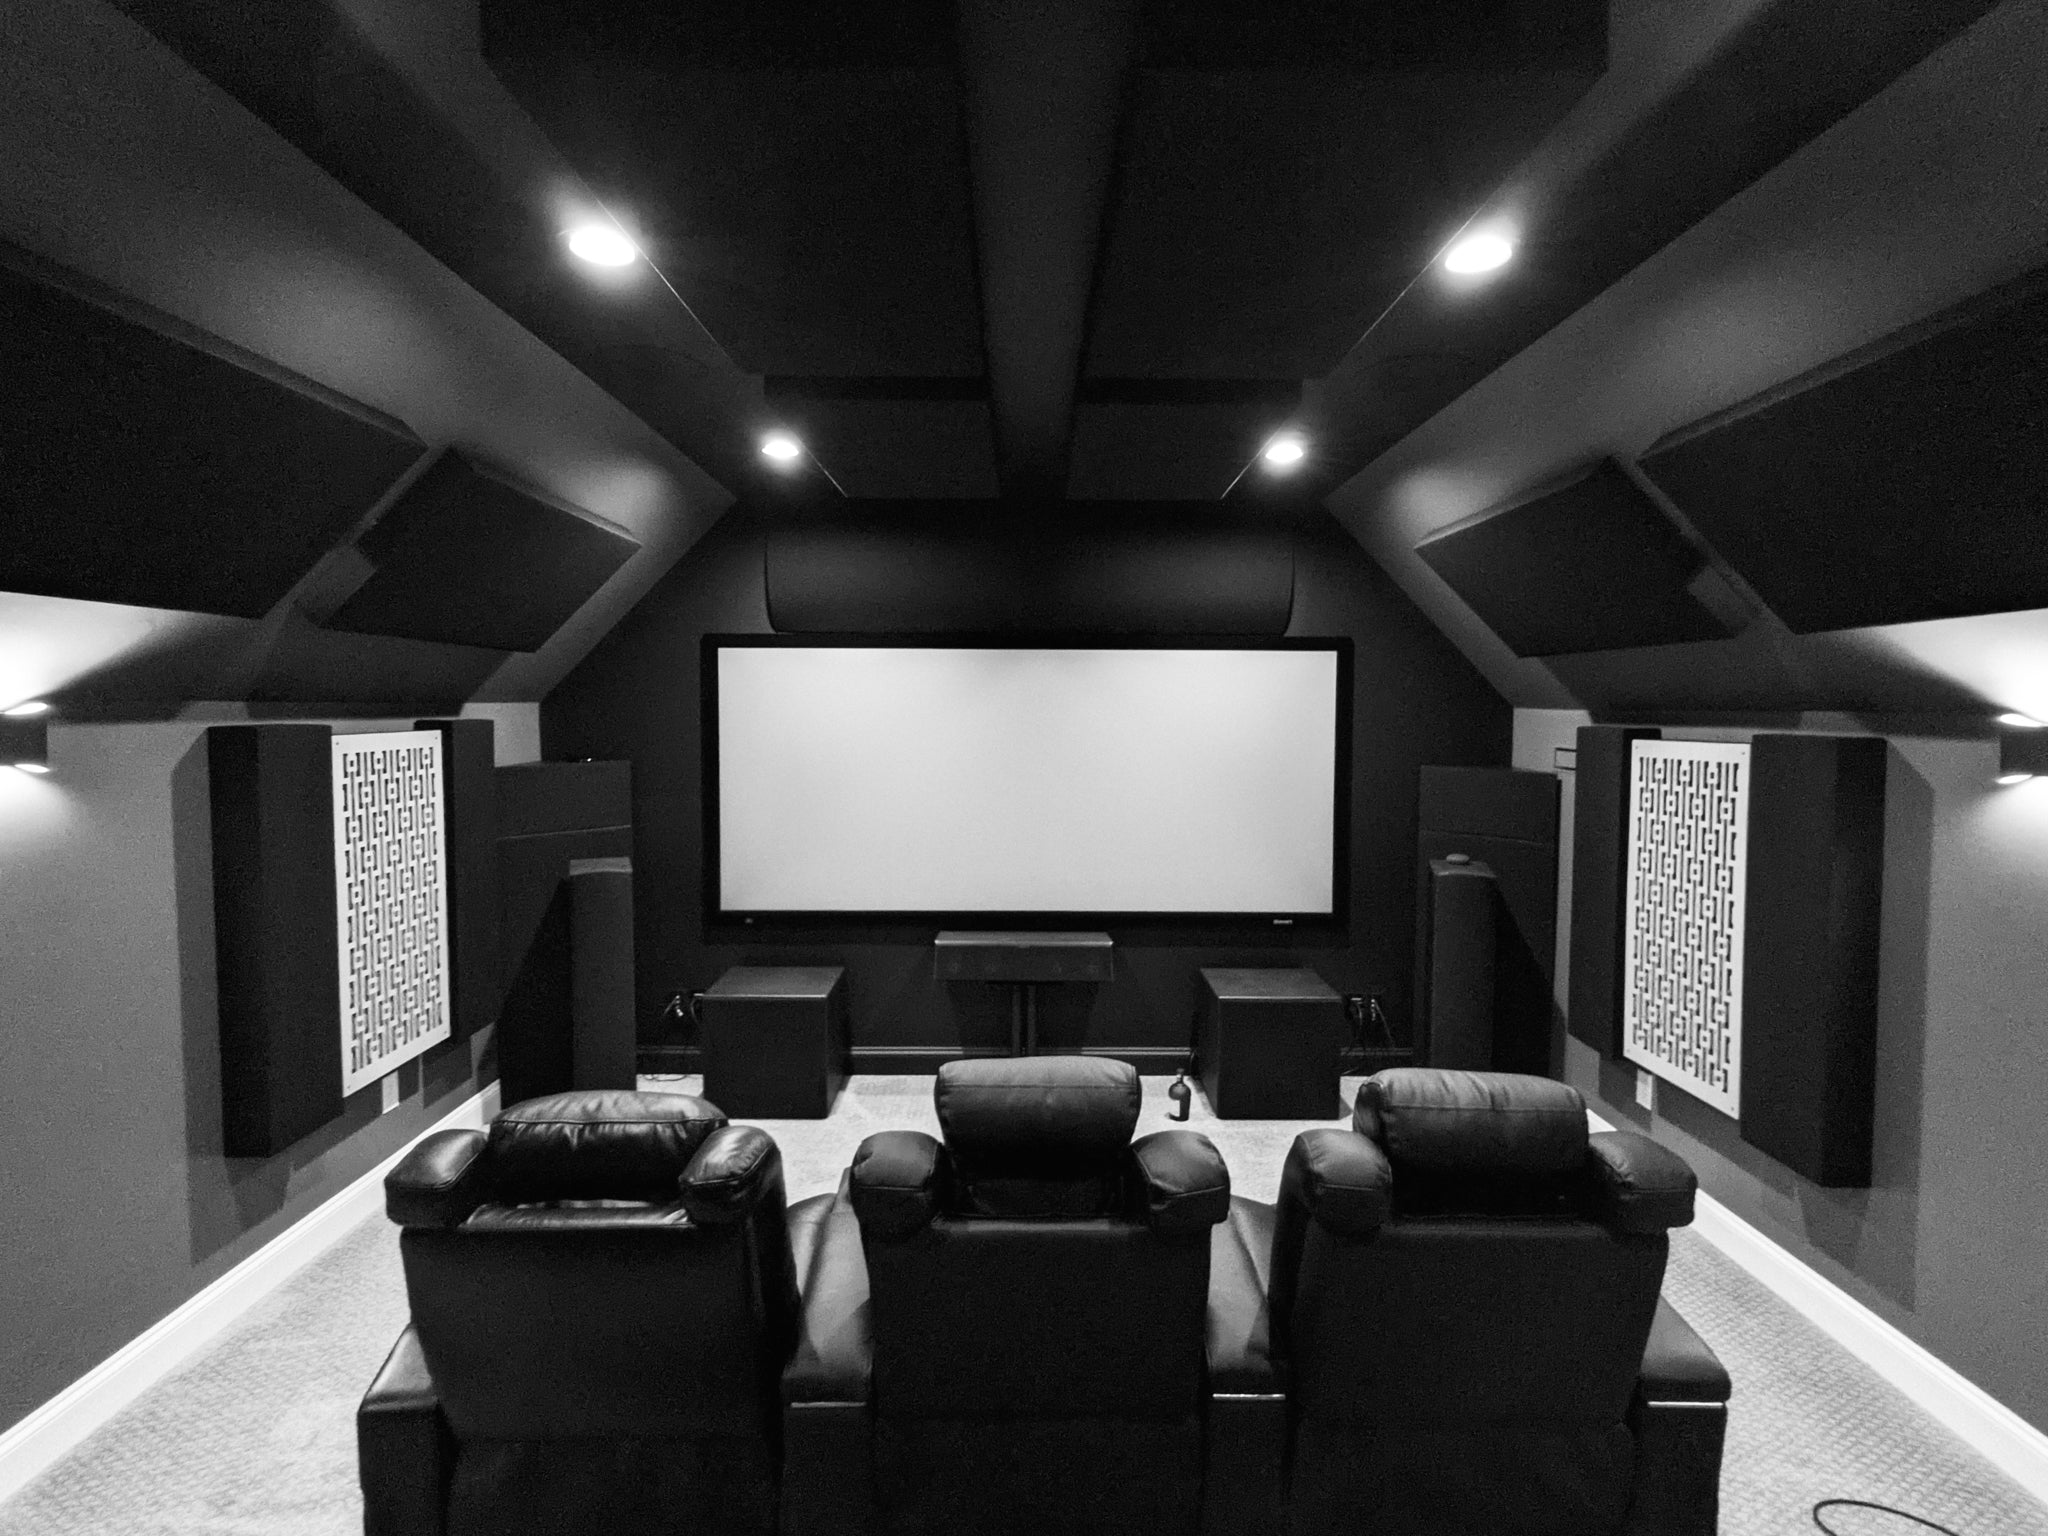
Guide to Home Theater Acoustic Treatment

Choosing the Best Bass Traps for Your Room

Every room has modal resonance problems — the question is how severe they are. This guide explains what room modes are, how to identify them, and the step-by-step treatment strategy to get your bass response under control.

Learn how to treat small rooms with bass traps, panels, and diffusion to fix low-end issues, reduce reflections, and achieve clearer, balanced sound.
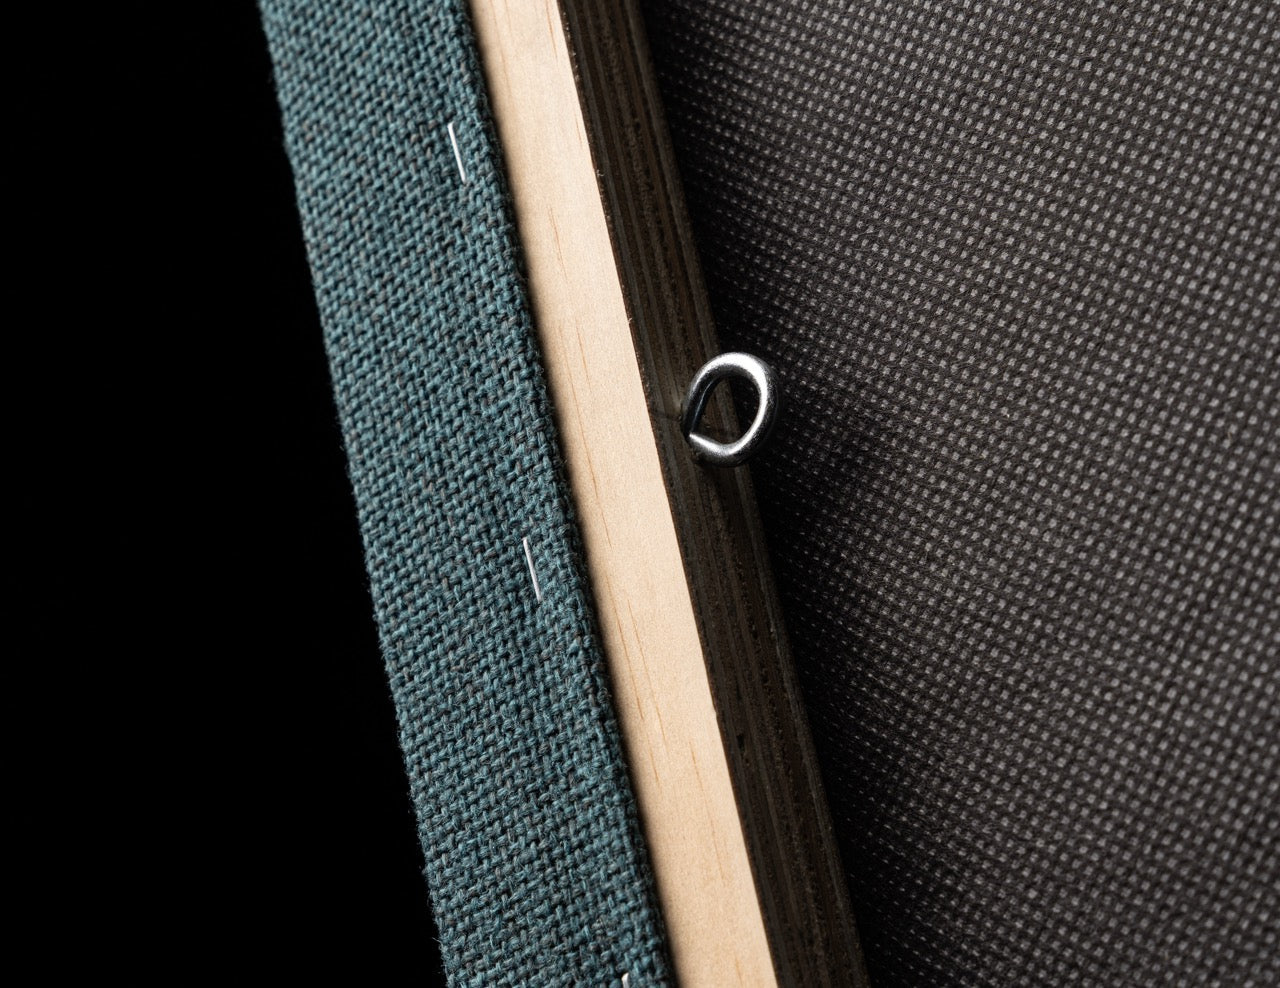
Mounting GIK Acoustics Products in Corners
Installing GIK Acoustics panels in your room corners is easier than you think. This quick guide walks through the measurements, hardware, and steps to hang FlexRange® panels cleanly and securely.
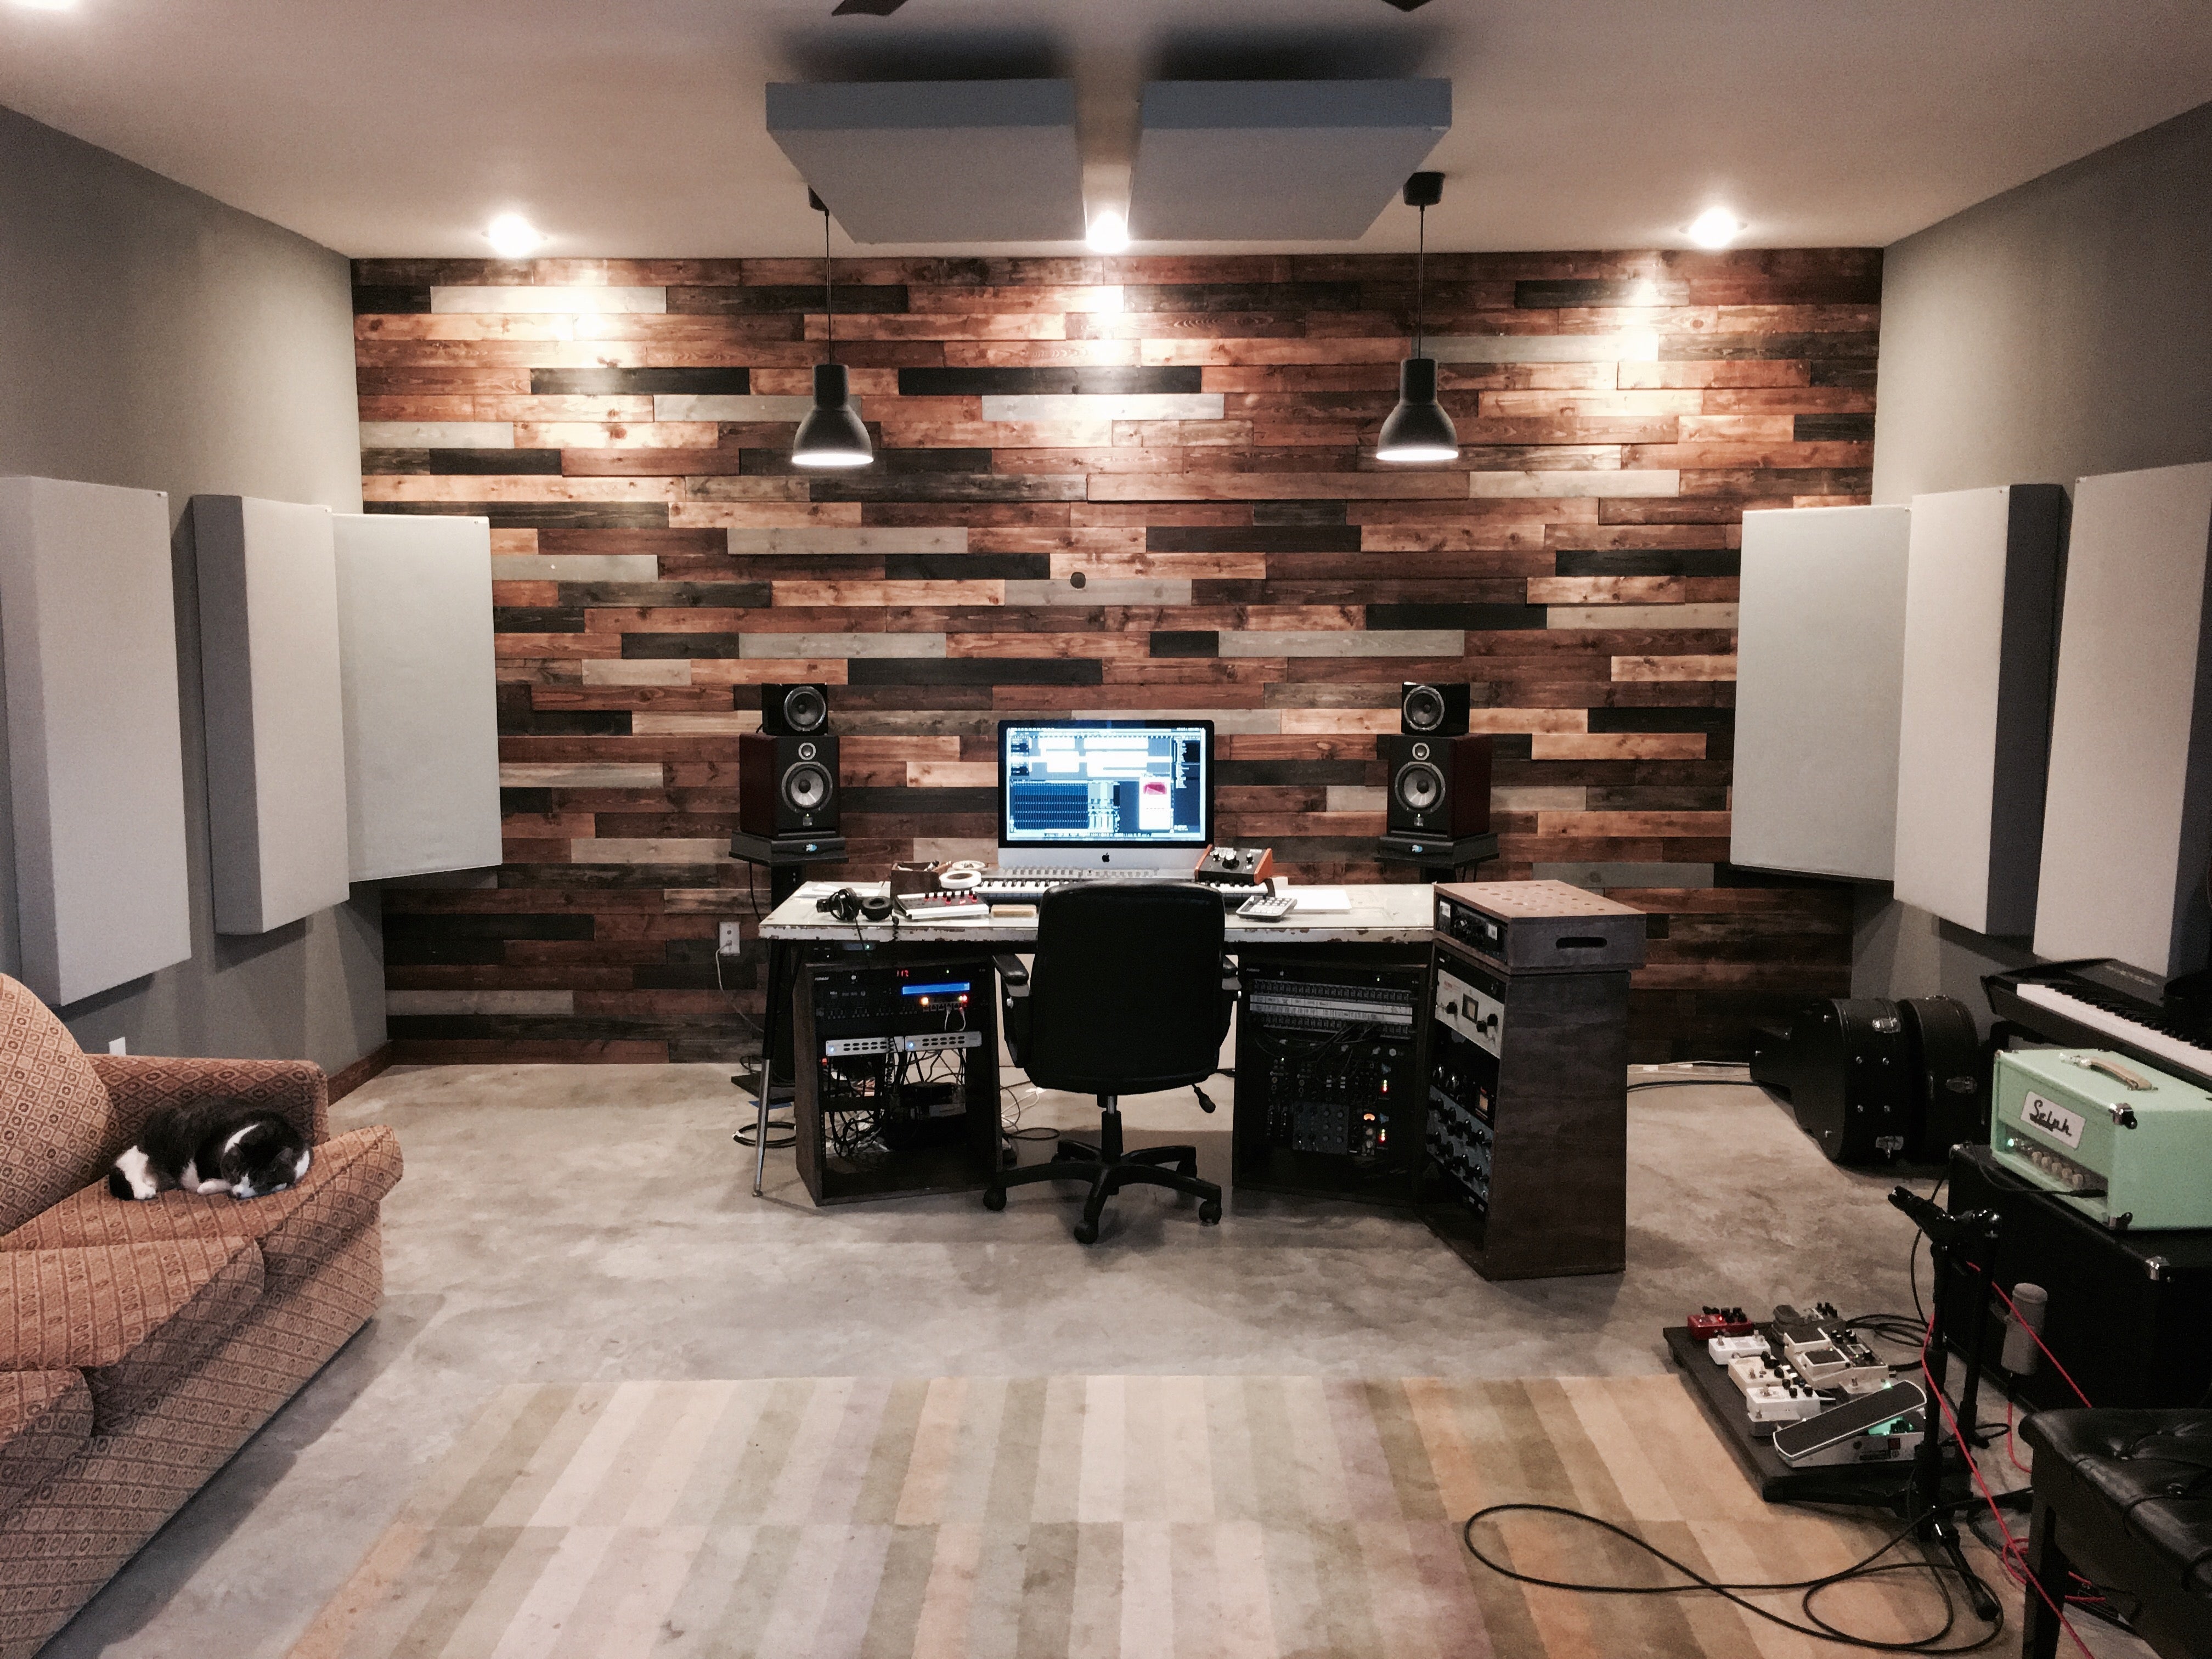
Learn how early reflections impact clarity, imaging, and fatigue—and how treating reflection zones improves sound accuracy and listening experience.